How to Create a New Case on the Support Website
Content
Objective
How to create a new Case on the Support Website.
Environment
How to Create a Case
The steps below only apply to Customer accounts. Partners and Employees should follow the steps listed in the articles under Additional Notes.
- Log into your Support website account (requires registration)
- Click on My Account in the top navigation and go to My Cases

- Click on New Case

- The Case will be created in four steps:
- Choose the category that best matches your request. Is it related to a product or the portal?

- Choose your product name or serial number.

- Review any active cases related to the product

- Select the issue category and fill out any additional information that might be needed. Review the suggested resources to see if they solve your issue.

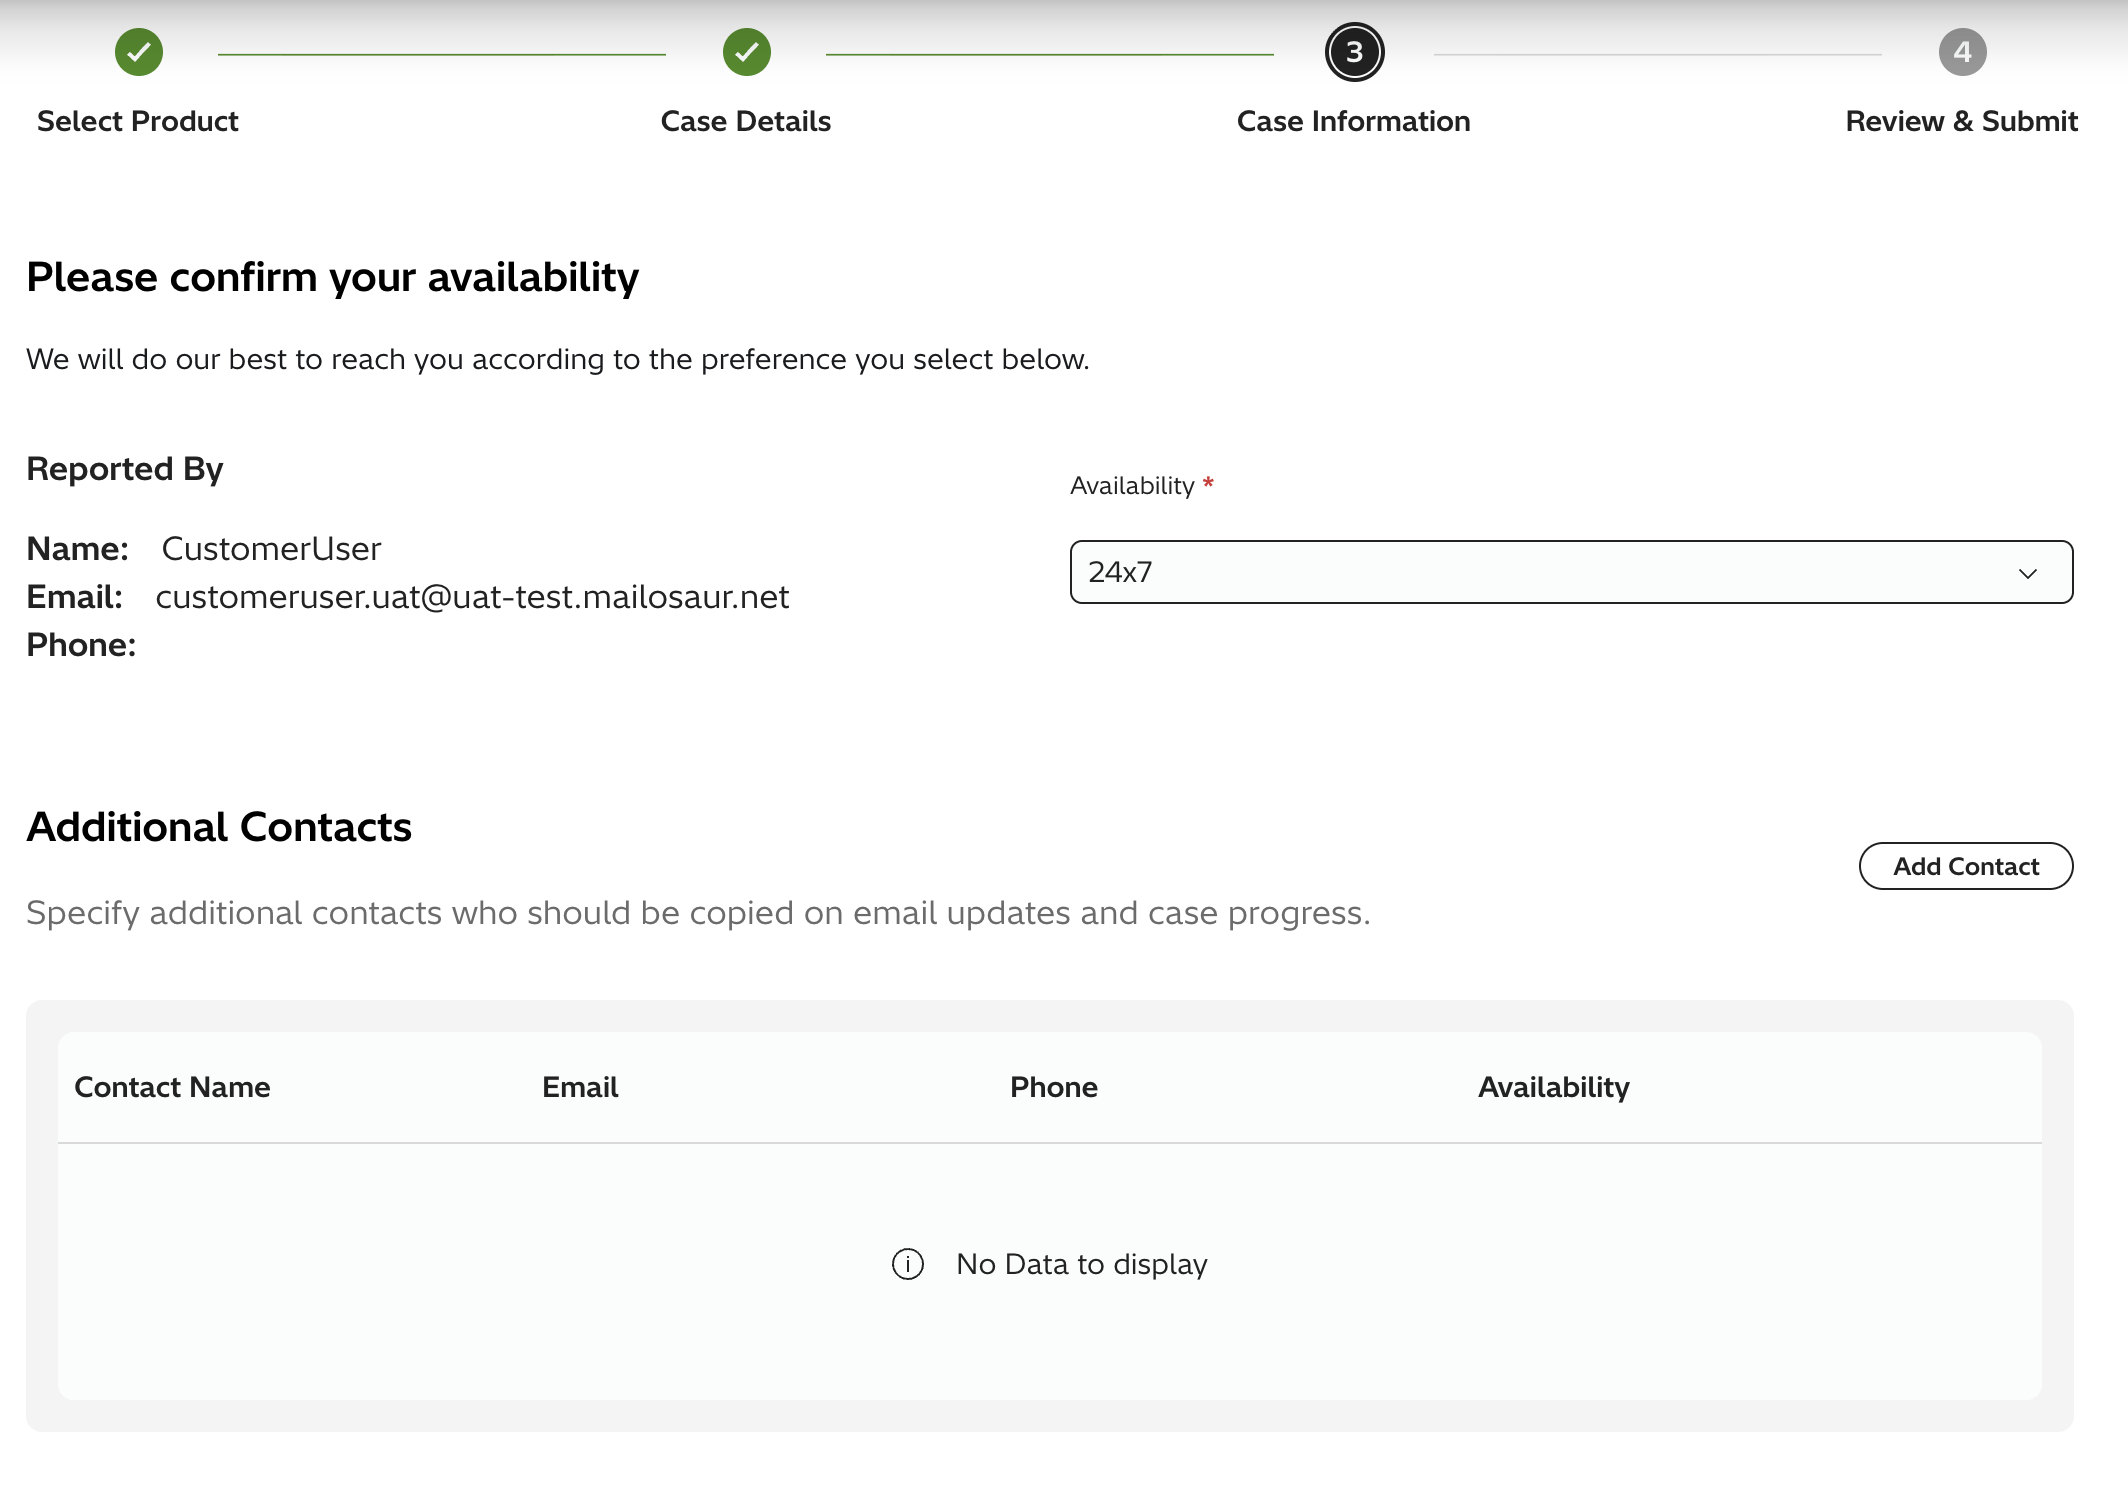
- Confirm your availibility and fill out any additional contact information
- Choose the category that best matches your request. Is it related to a product or the portal?
- Review the case details and submit your case.
- Once you have submitted you can attach files or view your case details

- You will be able to see any updates make on the case details page. You will also be able to close case if your issue has been resolved.

Additional Notes
View more helpful articles on Triage Questions to help expedite your Case.
For more information about the Support website, please see the following articles:
Solution Properties
- Keywords
- Case Create raexternalrequest
- Solution ID
- 242403050021940
- Last Modified Date
- 06/09/2026 01:59:10 PM
- Attributes
-
Page Privacy and Permission Assignment
- Page Privacy: Private
- Page Level Permissions: Anonymous; Employee; Service Partner; Customer; Knowledge Author; Knowledge Editor; IT; eServices; Knowledge Draft
- Article: howto
- Pagetype: knowledgearticle
- Taxonomy
- Collections
-
- Customer
- Views
- 0